The Steps
basics of function
how does the camera usually operate; what parts do what and go where
the finder
removal, opening, cleaning
the back
assess, clean
shutter assembly
remove, open, adjust, clean
batteries
modify to accept 3xAAA
completed
super sweet!
Batteries
Taken from "The Land List": The 100, 101, 102, 220, 225, 230, 240, 250, and 340 use one No. 531 (4.5 volt) alkaline battery.
These steps show how to convert to cheaper and more easily found batteries.
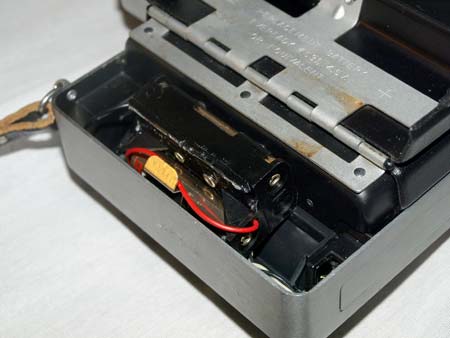
The battery compartment for these cameras is on the left side of the back. A little notch towards the top lets you know where to open from.
Basically these models take a really odd looking 4.5v battery with snaps (what you have on typical 9v batteries). Expect to pay $9 plus shipping if you find one.
More than likely the battery is dead, corroded, and probably both. Surprisingly this model didn't have a battery to speak of.
Remove the battery and cut the snaps off. Clean the compartment with some alcohol and swabs.
Remove the screw holding the battery clip.
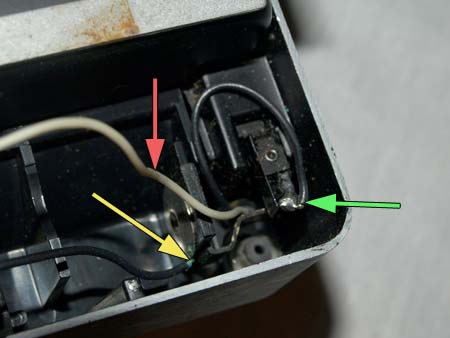
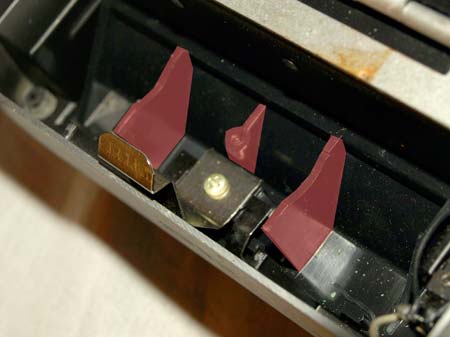
Look inside and notice there is still an extra contact and black wire; yellow arrow. Remove this by yanking it out.
The real black wire is soldered to a small contact, green arrow, cut it here.
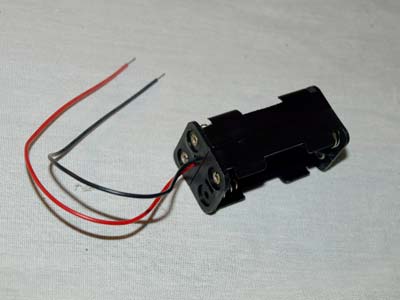
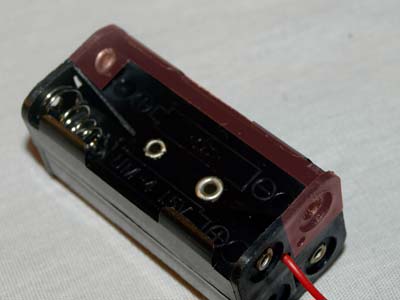
You need to find yourself a 4xAAA battery holder. Make sure it is the 2x2 version and not the flat 4 side by side.
Because a 4xAAA holder creates 6v, we need to remove one of the compartments to make it 4.5v.
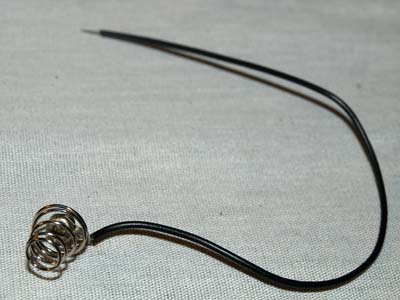
Begin by removing the last negative terminal, uncrimp the end and pull it out.
You will now have the springy end and a black wire.
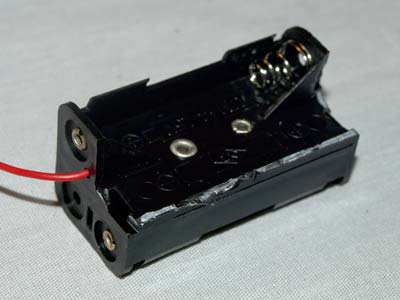
Because we are making a 3xAAA holder, and because 4 won't fit into the camera, you need to remove the last compartment.
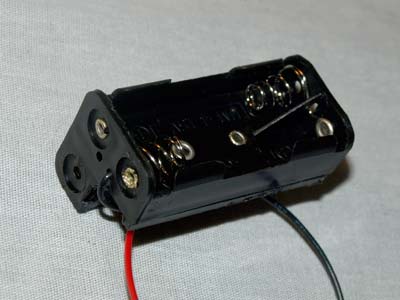
When you removed the 4th compartment with it came the springy end from the 3rd compartment. So now the 3rd compartment is missing a negative spring. Use the one we removed as a replacement. Crimp it back into place and now the holder is set to hold 3xAAA.
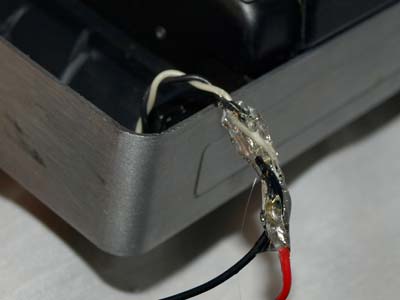
Strip the 2 wires for the shutter. I found using an xacto knife and shaving the covering to be best, the wires are flimsy. Using a soldering iron, tin the tips with some solder and flux. Do the same to the 2 wires of the battery holders.
Temporarily connect the batteries to the camera, test time.
To make sure your camera will even function with a new battery, before you solder these connections, test your 4.5v source with the camera.
Cock the shutter. With something covering the electric eye, push the shutter button and hold it. You should hear a single click. Wait a second or two, and remove your finger from the eye. If you hear a second click soon after, the camera is working. If you only hear 2 very fast clicks no matter what you do, the power is not reaching the circuits.
One click is the shutter opening, the second is it closing. Test different lighting situations and listen for the differences in timing. Bright light should make the clicks closer together than a dark place.
If everything works well, move on.
Solder the white wire to positive, the black wire to negative. Just for cleanliness sake, use some hot glue to seal the connections.
To get the holder to fit, remove extraneous plastic from inside the compartment.
Depending on your model the holder may or may not fit easily. But trust me, I have not run into a compartment you couldn't somehow fit a 3xAAA holder!
