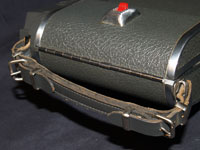
 It would be a bad thing to ruin this lovely piece of old dead cow skin. Remove the strap by undoing the two buckles. Set it aside until the end.
If yours is damaged, use the parts to make your own from some craft leather or fabric.
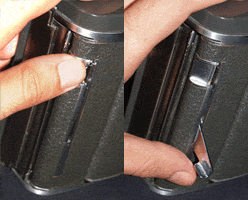
To open the back of the camera, you need to unlock it. Along the front is this latch.
Bring it down and the back should now be able to open.
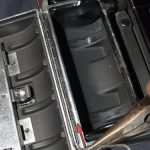
Fold the doors out, first the outer door to the left, second, the inner door to the right.
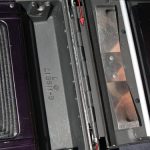
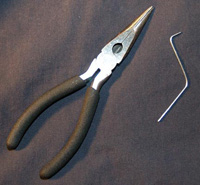 To remove the back doors you need to pull the hinge pins. Grab pliers and a bent paperclip. I had an extra hinge pin lying around and used that.
Be careful not to scratch up the camera body when pushing and then pulling the pins. Not a big deal, but a scratch is a scratch.
To get the right side out you need to work within the tiny space between the finder and the hinge.
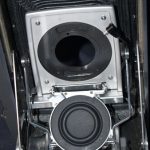
With the camera few pounds lighter, you really should remove the lens to keep it from getting dirty or scratched for the rest of the project.
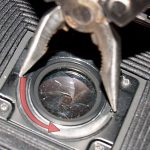
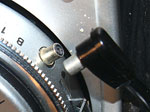 The lens is held to the board with a retaining ring. The ring itself should have 2 to 4 notches.
Using some pliers, carefully, turn the ring but DO NOT remove it all the way.
Open the front of the camera. Disconnect the flash cord.
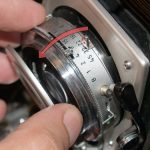
Now the lens is held in place by the lens cap and retaining ring.
While holding the lens with one hand, finish removing the retaining ring.
Do not tilt the lens, pull it straight out or it may get stuck.
Keep the ring and lens together and in a safe place. While you’re at it, give the lens a good cleaning.
To keep things a bit cleaner as we progress, cover the lens opening with tape.
