The last dirty part of this conversion is the cutting the original back of the camera into a small compartment door.
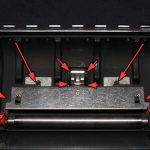
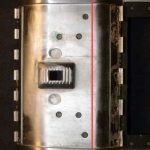
There is no need for all this extra crap inside the door. Remove the 4 screws holding the red switch along with all the rivets.
Drill or just yank.
Remove the leather pieces and use them to trace new ones.
Measure the width of the door, be careful when cutting to keep it as straight as possible.
Grinding to flush is your best bet, so be close but not too close.
While I was at it, I thought I should remove that useless red switch.
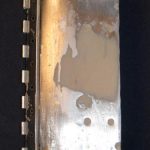
Once cut you need to fill in the gap and rivet holes.
A few layers of body filler and some cursory sanding is all you need, this will be covered with leather so smoothness is not required.
Test fit the door and grind it to flush as needed. I spraypainted the inside flat black.
Fit the new leather and glue it to the door.
When it comes to the edge, make a zig-zag pinking shear edge, this will fold over much easier.
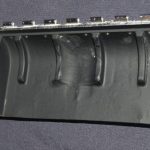 Once cut you need to fill in the gap and rivet holes.
A few layers of body filler and some cursory sanding is all you need, this will be covered with leather so smoothness is not required.
Test fit the door and grind it to flush as needed. I spraypainted the inside flat black.
Fit the new leather and glue it to the door.
When it comes to the edge, make a zig-zag pinking shear edge, this will fold over much easier.
Having a nice looking door is pointless if its going to flop open all the time.
I’ve tried using a spring, but it was a pain and dangerous if done improperly.
I also tried using a magnet, but it was also a little complicated.
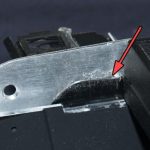
The finest solution I have found is with a small fiction tab attached to the underside of the finder plate.
Any thin shim of plastic will do, I used a used pack film mask.
Glue it in place.
Test to see if the door snaps open and closed. I found that if you file down the edge that meets the tab a little thinner, it works like a charm.
