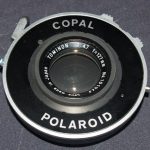
This is a good time to point out that this particular project is dealing ONLY with a 127mm lens. Which is 13mm longer than the stock lens of the 250.
When choosing which of the 2 halves of the lensboard to attach your lens to, take this distance from stock into consideration.
Less than stock places the lens further back, towards the film plane. More than stock places the lens further out.
To figure out which will work best, I attached the lens to the bellows without the lensboard. Using a makeshift ground glass, I tested for infinity focus. Hold the lens, attached to the bellows, in one hand and with the shutter open watch the ground glass until infinity is in focus.I made a measurement of the distance from the film plane to where I found infinity. Re-assembling the lensboard pieces and focus arms, use this measurement to see where this focus point lies.
With my 127mm I found that if you put it onto the front lensboard, it is almost exactly 13mm out from the original focal point. What a nice fit!
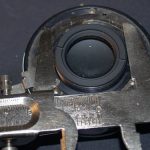
Time to measure the rear lens diameter.
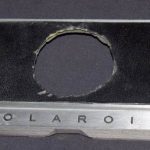
Use this measurement to grind out the opening on the front of the lensboard.
The shutter should fit snuggly.
Since this is no longer a Model 250 I removed the front label and replaced it with some black leather I had lying around.
The rough edge will be covered by the lens.
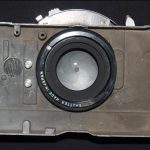
After grinding out the lensboard to fit the lens I test fit it with the retaining ring.
This particular Copal type shutter will fit flush if you have it sitting properly.
If you were to put the lensboard back together you will notice that without the inner circuitry there are no less than 4 openings that need to be closed off, to prevent any light leaks.
You can always just use tape, but what kind of look is that?!


